Configuration
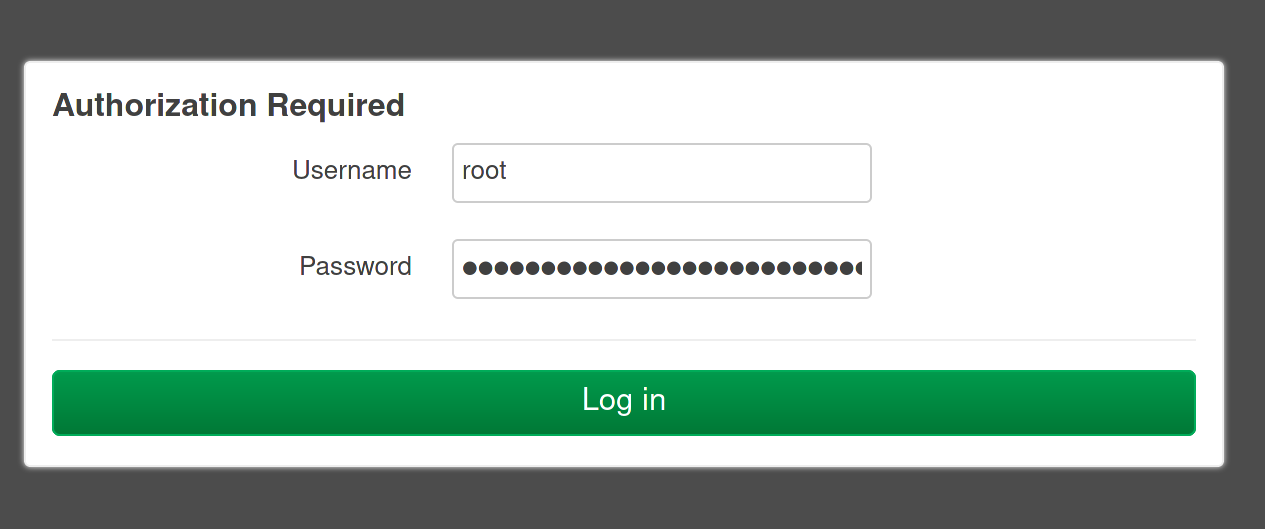
00: Logging into LuCI
The default username is root and the router should be reachable at http://192.168.1.1
Accessing LuCI over HTTPS is simple, however OpenWrt releases with a minimal set of packages.
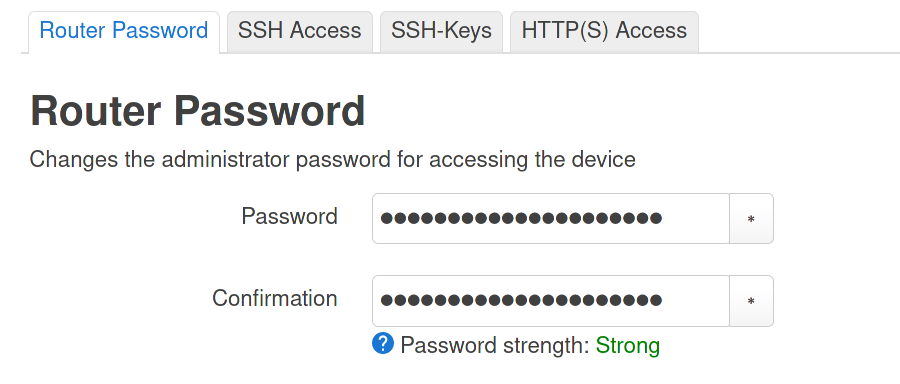
If you are setting your router up for the first time you must password protect your router.
01: Secure the Router with a password and SSH Public Key
Set a nice password. It’s easy to generate one with
% cat /dev/urandom | tr -dc a-zA-Z0-9 | fold -w 20 | head -n 1
4LupAXIXFgjWLPht9CpU
You could also use diceware for example
% diceware
If_I_Choose_To_Ride_-_Thuggin_Til_The_Day_I_Die

Public keys for SSH authentication can be entered in the SSH-Keys option.
Alternatively, keys may be appended to the file /etc/dropbear/authorized_keys
02: Configure a new Yggdrasil Network Interface
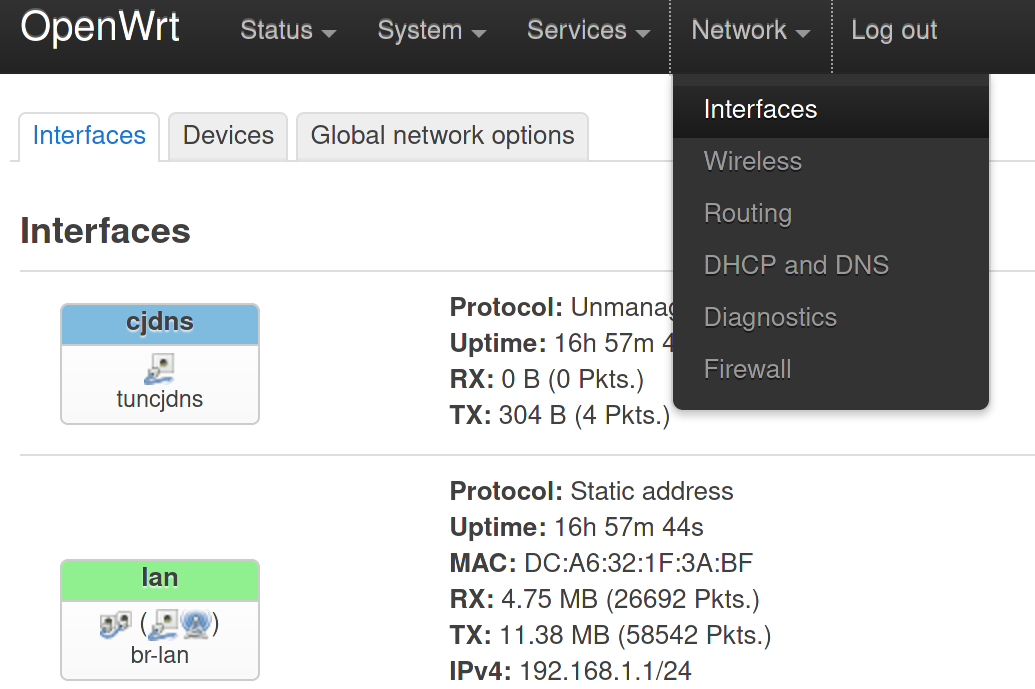
Yggdrasil is configured in OpenWrt as a network interface.
Enter the configuration section Network ➞ Interfaces
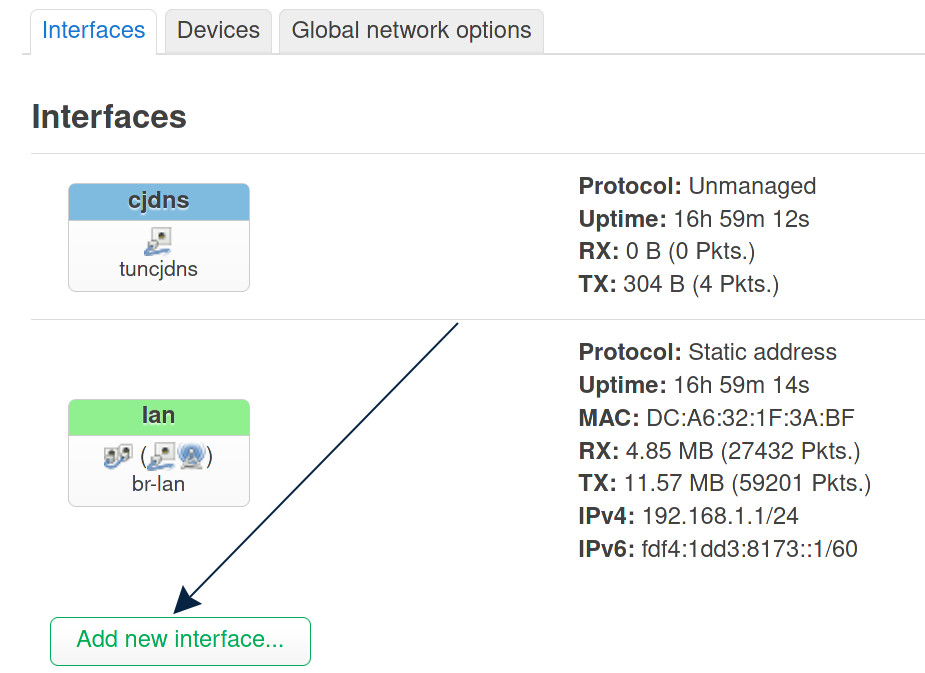
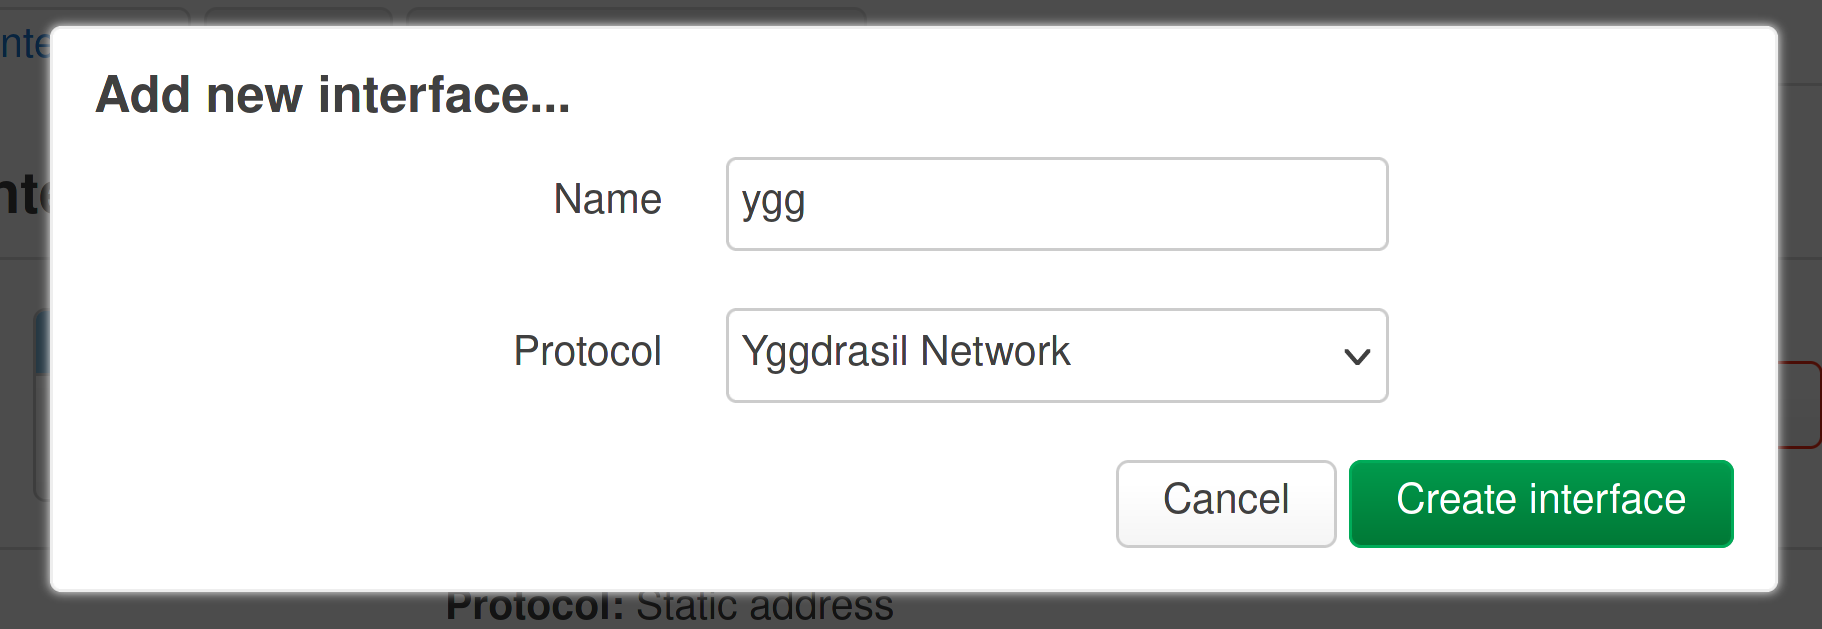
03: Add a new Interface
Next,
You will need to open the Add new interface menu to start the configuration
04: Naming the Yggdrasil Interface
When adding a new interface you will need to choose a name of the interface.
You can simply call it ygg or yggski. The interface name will be prefixed with yggdrasil-.
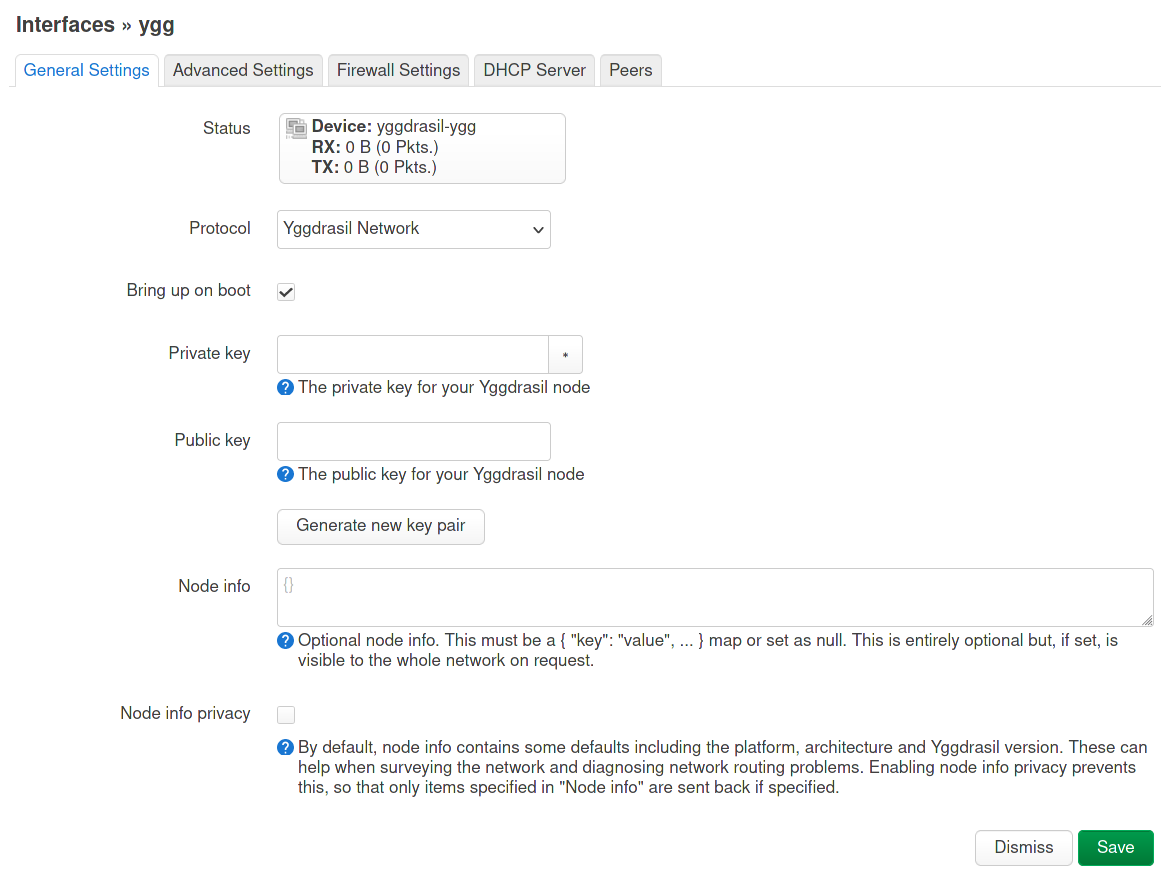
05: Generating a new key pair
Click the Generate new key pair and observe it populate the Private Key section.
The Public Key field is optional.
The Node info field can be populated with extra information such as.
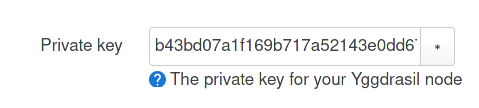
06: Private Key
The private key should not be shared.
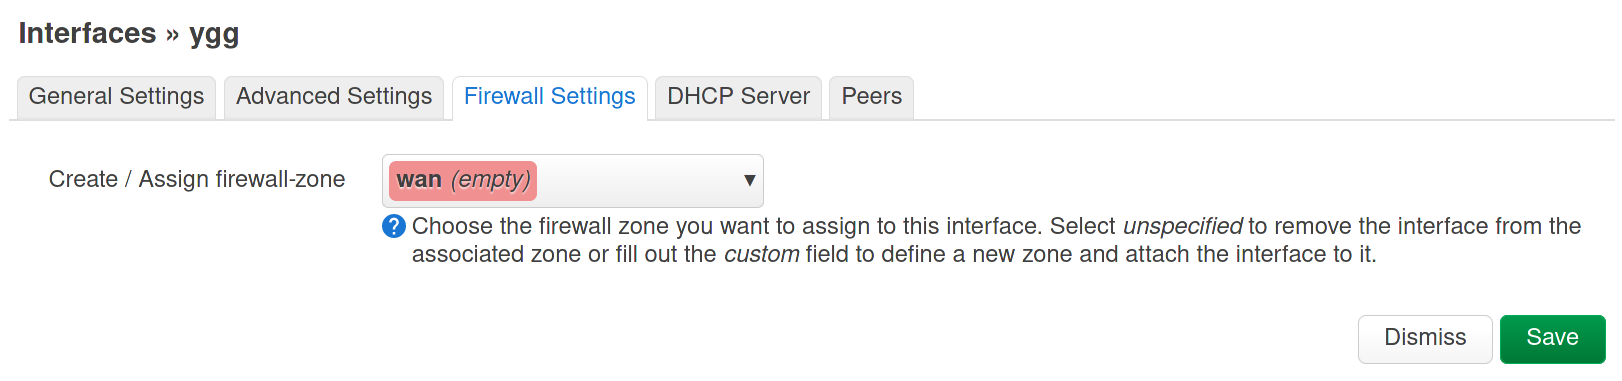
07: Firewall
Assign the new Yggdrasil interface to the WAN network.
This will ensure incoming traffic to the router and to the local Yggdrasil
subnet will be dropped.
08: Peers Configuration
Configure your peers accordingly.
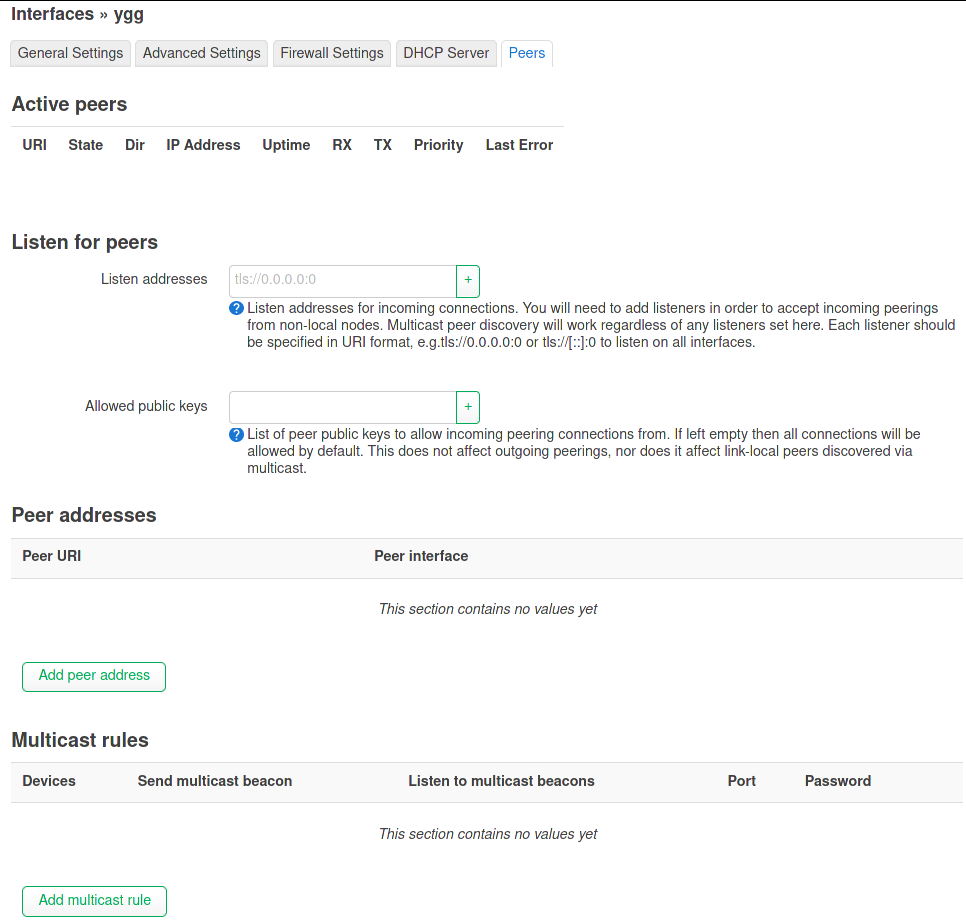
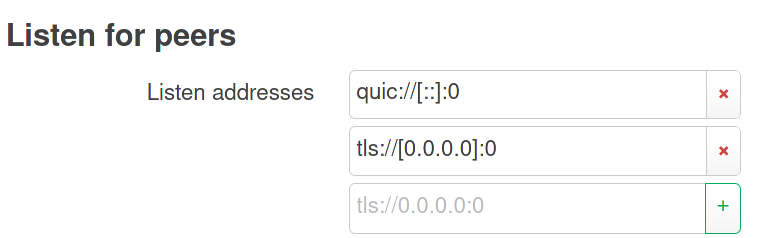
09: Listening for Peers
These listening addresses are for routed incoming connections.
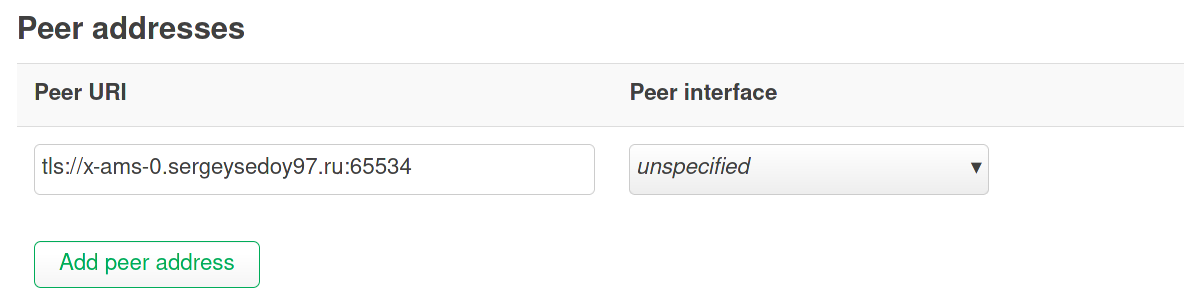
10: Remote Peers
These outoing peers are for routed outgoing connections.
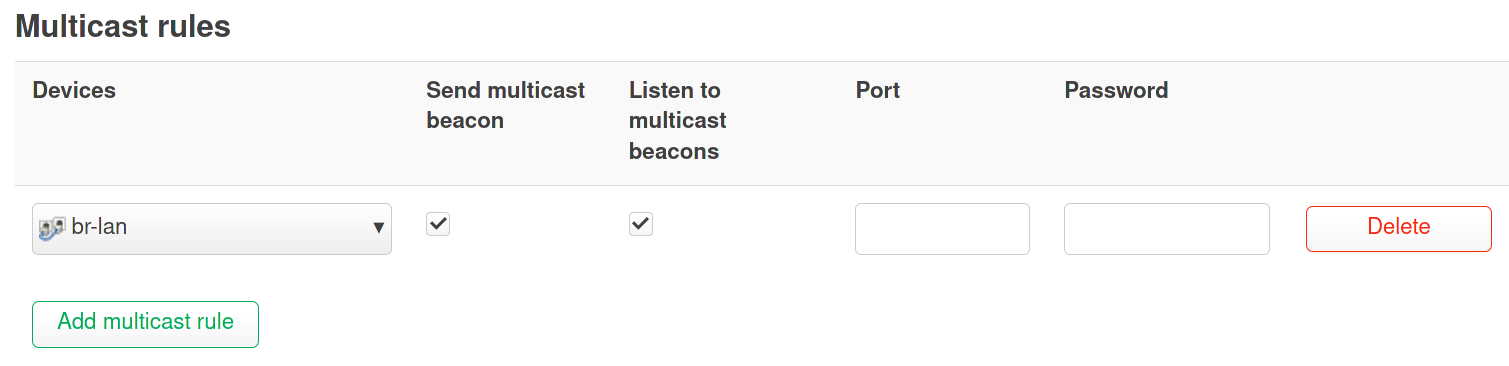
11: Local Multicast Peering
Sometimes referred to as “local” or “non-routed”, peers in the same
network using multicast discovery using IP6 address (a link-local address).
Yggdrasil can send and/or answer beacon requests in the network segment.
This is essentially auto-peering. Port and Password are optional.
12: Save and Apply your configuration
After you have saved and applied your configuration the
interfaces page will show the new Yggdrasil interface.

13: Optional: Enable Yggdrasil prefix to your local network
While it is generally encouraged that nodes run the software locally, to provide end-to-end cryptographic sessions and participate in routing, this is not always practical. The device may not have the resources to run the software or may not be able to run user code. To that end, Yggdrasil also provides each node with a routed /64 subnet in addition to their IPv6 address. A node running Yggdrasil that acts as a router may advertise this prefix to other devices just as they would any other ordinary IPv6 network.
This may be best illustrated by example. Suppose a node has generated the address: 200:1111:2222:3333:4444:5555:6666:7777. Then the node may also use addresses from the prefix: 300:1111:2222:3333::/64 (note the 200 changed to 300, a separate /8 is used for prefixes, but the rest of the first 64 bits are the same).
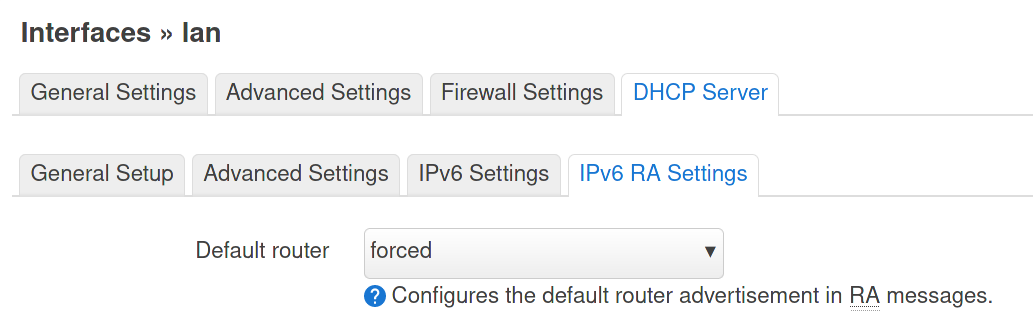
Edit the LAN network where your br-lan network is found.
If you set forced in IPv6 Router Advertise for Default Router
then devices in your LAN will obtain an IPv6 address from the
300::/64 prefix.
If you want to allow access to this prefix you will need to edit the firewall.
14: Observe the active peering connections
Open the Network ➞ Interfaces section and edit the Yggdrasil interface.
Go to the Peers tab and you can observe the peers.
